Saturday, 13 February 2016

Beach and Calendar Layouts

This sheet of Seaglass paper was just so gorgeous, I cut it up to create multiple layers.
The leaves were my inspiration for creating the Island.  I punched out 3 circles for coconuts, handcut a Palm tree trunk, tore the sand and waves and added some paint to the cardstock background to create a ocean feel.
The grass chipboard and bird charm really helped finish off the layout.


 I used Distress Stain on the chipboard without a basecoat to created the grassy feel.  I did a second coat on the base for shading.
 While working on the layout I realised this could make a cute Pocket Scrapping card so took this pic with 2 rulers to show it would fit as I didn't have the supplies on hand to make the card as well.

This September Calendar page inspired me. 
I felt it would be a great way to feature a memory.  Though you didn't need to be restricted to the month on the paper as you could simply cover it.
With a single photo over 4 squares and journaling in the relevant squares.
Then I thought a fold out would be fun and would mean you could add more photos.
I went with a monochromatic layout.
It is simple but I love it as the memory is the feature of this layout.


Wednesday, 10 February 2016

Altered Book

I loved a Listers layout that had bookpaper as the background and thought I haven't started this year yet so why don't I alter a book so I can use it for my lists.
So I chose this book that was missing a couple of pages.

I decided to experiment with altering directly onto the paperback cover rather than adding cardstock or paper to it first.
I applied 2 coats of Gesso and then stencilled with Gesso again.
Once dry I applied a home made paint spray and it started to crinkle up.  I quiet like the effect but I lost most of my stencilling.
I had at least 20 different ways I wanted to do this book.  I prepared multiple chipboard pieces, from cogs that I made look rusty with paint, to the end result of some swirls that I used blue and silver paint on to coordinate with the broken piece of necklace that I added some charms to, I also added wood veneer bird and bird cage to the cover and some paper flowers.

To use the book I am gluing 2 pages together and removing 2 pages between each lot of glued pages to allow for chunky creativity.


After the first layer of Gesso.


Here is the back.   You can see the small amount of stencilling that partially remained.


What do you think of the finished cover?
I can't wait to get listing in this book.


Monday, 8 February 2016

Book Card

The Bookatrix style cards were going viral in a craft group I am in, a lady kindly sent me her templates as we can't get the tool or the dies in our Country but it was too much scissor work for me so I came up with a version mainly using my 12 inch trimmer and only doing minimal scissor work.
I am happy with how it turned out.

I distressed the edges of all my sections and added bling to 3 layers.
I had to wait to post as I sent this to a lovely friend for her Birthday.


Wednesday, 20 January 2016

Remote/Game Controller Storage

We have this nook between the couch and 2 bookcases where the phone point is and a power point, the dogs really like to curl up there but they keep knocking the phone cable and that makes things fall so we needed to block the corner but still be able to get to the bookcase.

We had this 5 drawer storage cart on wheels in our office and it seemed like a perfect solution, we can easily wheel it out of the way to access the books on the bookcase and it is stopping the dogs from knocking the phone cable.
What to put in it so it wasn't wasted storage?


Currently our remotes were in a box on the bookcase taking up valuable book storage space and our Game Consul bits were in the cupboard the TV is above.

So remotes and chargers go in the top drawer, tablets and even laptops can be charged on the top of the cart.

 Second drawer has PS3 controllers.
I placed everything that would fit in a ziploc bag that was going in the bottom 4 drawers in a ziploc bag to protect them from dust and dog fur.


The bottom 3 drawers have Wii supplies.

Tuesday, 19 January 2016

Mixed Media Pocket Scrapbooking Cards

On January 9th Jen Hall in the Project Life Australia group shared her layout that she created with mixed media cards she created herself.
They are absolutely beautiful.  Mine don't come close as with my hand issues I can't draw or write to a level that allows me to create anything close to her creation but I thought I would share what I created.  They are simple but I am happy with them.
They did take me a few days to make due to may hand but they were lots of fun, making 1 or 2 a day was a great way to get creative release without taking too much time from my day.
I grabbed a A3 sheet of 300gsm Watercolour paper (it is from a cheap pad and I have learnt my lesson, don't buy cheap watercolour paper, it is apparently in 2 layers and some of it split apart as it dries).  I cut it into 4 6x4 3 3x4 and the rest I cut into ATC size of 2.5x3.5, I think I got 5 of those.
I played on the 2.5x3.5 with backgrounds using my watercolours that the lovely Kerri in the Planner Community RAKed me.  I also used one to wipe off my brush on and it wound up with quiet fun colouring on it, I later used this to draw clouds & flowers on and fussy cut them out.

My first play was creating a rainbow, I did this on a 2.5x3.5 and then on a 4x6.

I used a stencil to draw the numbers for 2016 on a page from a damaged book.  Then I put clear stickles over where the numbers were.
Due to the poor quality of the paper it pilled in areas so I used a butterfly punched from wrapping paper and 3 paper flowers to cover the worst areas.
I created a butterfly trail with black Kindyglitz.  Pink buttonw for the flower centres.


I just played with backgrounds at first using watercolours on most and gelatos on one then I started thinking about those first days of 2016 and what happened in those days so as I added layers I used them to tell a story on 2 of the cards, this is the first of those cards.

It is enhancing the telling of the main event of Jan 5th, my 18yr returning to her home 2hours away after recovering from a pushbike accident at home with us.
I have used a chevron stencil on the bottom, some paper from her old high school math book, created a car from a damaged book (clear stickles for the window and headlight, later changed the headlight to bling).
Letters are from the first stickers I bought as a scrapbooker over 10 years ago.

I am a big believer in using embellishments to enhance the telling of your story you are telling.

The next story I had to tell was the boys attending a activity at the local Library, the theme was Star Wars stuff.
I made mini books with a page from the damaged book and some cardstock.
Used a bubble stencil that I stenciled with some blue paint spray mixed with gesso.


I used my gelatos on the background of this card but to the poor quality of the paper they wouldn't blend so I did a thin coat of gesso over this and loved it.
I mixed a lime green gelato with some gesso and stenciled the vine on the card.
The paper wasn't reacting well to so many layers and damage occurred so I covered this with little paper flowers and butterflies punched from wrapping paper.
 I decided they all needed to be outlined so they felt finished.


My 3x4 cards I didn't do much with, placed 3 1inch circled together with a brad and randomly snipped with scissors to create a flower, I doodled 3 flowers on my scrap piece of 2.5x3.5 that I had been wiping my brush on and fussy cut them out, I cut a section of my wet wipe I had been using to clean up and bunched it up to create a flower.
I used my first attempt at a rainbow on a 2.5x3.5 card to add it to a 3x4 piece of black cardstock to create another card.

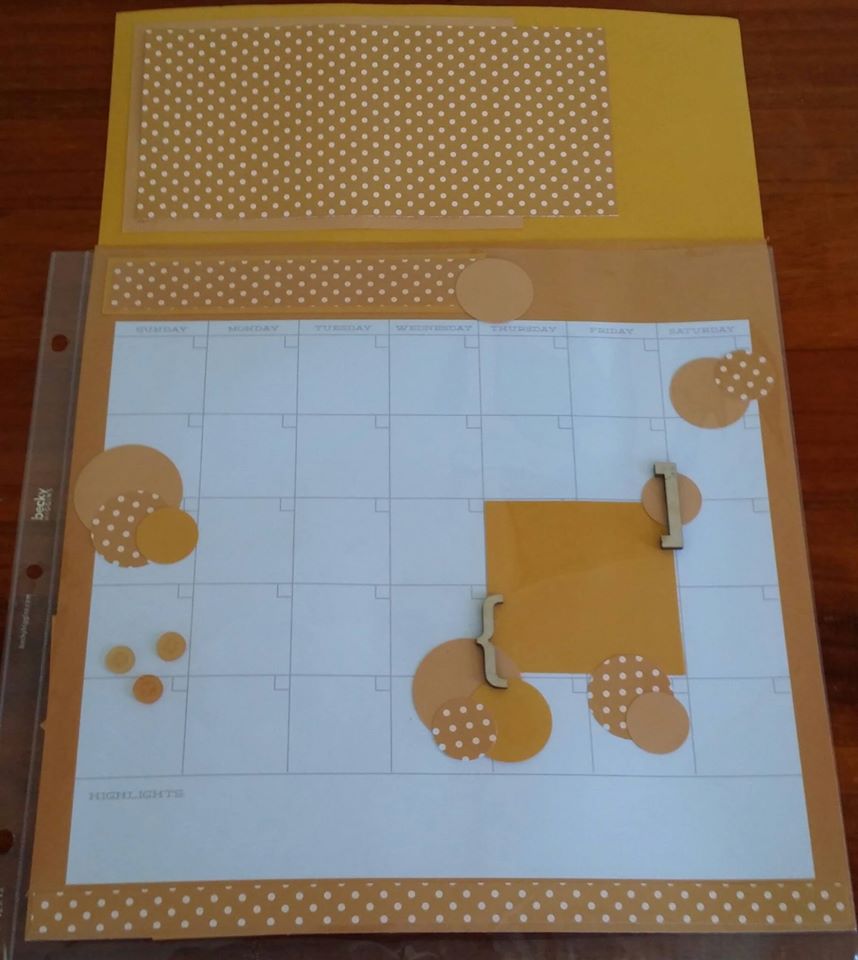
I place all my cards in a page protector and hung it on my wall by my desk until I had a chance to print photos.
A few days ago I decided to attempt keeping a journal, using my computer to type most of my journalling, the 2 bottom cards have wound up in my journal as fold outs.  I love them in there.

Thursday, 31 December 2015

Handmade 6x6 Mini Baby Boy Album

I had so much fun making this album for my nephew.
I followed a My Sister's Scrapper tutorial, link is in the description of the Video of the finished album.
A handmade Baby Album needs it's own handmade gift box.

The top of the gift box.
The side of the lid.

The finished spine of the album.
This is a pic of the cover before I finished it, please see the video linked above for the finished cover as I added another fussy cut piece.
I couldn't get the die cuts from this range so I fussy cut from a sheet of the paper, backed them onto cardstock and fussy cut again, which took a while with my hand issues.
This is a pic from my work in progress of the inside cover, you can see the finished project in the video.
The page on the right I cut a second piece of paper so it would line up with the paper underneath.
Inside of the fold out.
I stuck this pocket scrapping card down so it would form a pocket as seen in the video.
I later added a badge/flair to the top corner of the right hand page.
I adhered the pocket scrapping card down so it will form a pocket.
I just love these hand and foot print die cuts, so cute.
A teddy bear charm from a pack I collected when making myself a Firefly themed charm for my Filofax.
I finished these pages off with Yellow photo mats.
The buttons from my stash went so well with these stickers.
Couldn't resist creating a clothesline with these cute stickers and some tiny pegs over a journalling card.
I created a pocket behind the 2 pocket scrapping cards and another small pocket for the journalling tags with the top pocket scrapping cards.
Another pocket created with the pocket scrapping cards.
I added dimension with the hexagon die cuts, they are larger than the hexagons on the card but I love the effect, they are adhered down with foam tape.
I didn't get to finish the inside of the cover but using the BABY BOY die cut blocks with some foam tape worked a treat on the back page.


I really loved creating this and can't wait to create another mini album.

Op Shop Finds

I love op-shopping. 
The area I live in it can be difficult to find a great bargain though but every now and then I have some pretty good op-shop finds.  Here are some of my op-shop finds of 2015.

 I found this lovely bag at the RSPCA op-shop that is perfect for a mobile office for myself.
I was expecting to be studying in Semester 2 and spending a lot of time waiting so thought taking my study needs with me would be a great idea, unfortunately things changed and I was unable to study in Semester 2 but I am looking forward to Studying Semester 1 2016 and using my mobile office.
 It has multiple sections that are very useful, a space big enough for a small laptop or large tablet.
Plenty of room for my study essentials, wallet, phone, and my other regular handbag items.
And the section with all the pen loops, sunglasses pouch, mobile pouch (though too small for my current phone), business card slots, etc is so very handy.


I found this lovely old book that is a collection of Jules Verne's stories for my husband.
A collection of handy stationery that were bargains, including a cheap no-brand planner that has come in quiet handy in addition to my Filofaxes.
 This massive bag of flowers for $2 from the RSPCA op-shop.
There is a mix of fake flowers that have been cut off their stems, craft flowers and ribbon flowers.
I just love this big bag.
I have now sorted into colours.
 I found the perfect laptop bag for hubby to use as a mobile office for his second job at the Salvos.


Handy business card slots, a spot for his external hard drive, pen loops and more in the front section.
It has a large compartment that is padded that suits a laptop but has 2 sections so the big presentation binder he has to take with him can fit in there.

It has a file section so he can take essential forms with him.

 One side has a mobile pocket though it is too small for current mobiles and the other side has a pocket to keep the shoulder strap in.

This TYPO satchel that appears new was $2 at the RSPCA op-shop.
Love a bargain.


I got this cute Christmas Present bathroom container at the RSPCA op-shop for $1 which was a bargain as the same one in red was $4 at another op-shop.
I got a Santa soap bottle at Lifeline for $4 and for a while these 2 items were our only Christmas decorations in the house.
Some other great finds this year included a lovely leather satchel I gifted to a friend who loved it, a purple JAG handbag I got myself that was like new, 2 more letter writing kits and plenty of great clothes for the boys some brand new.  Mr C has had a massive growth spurt going from a size 6 to a size 12 in just a few months, he was size 10 for only 1 month so op-shopping for quality clothes for him has been a great way to cloth him without breaking the budget.