Showing posts with label Pop Culture. Show all posts

Wednesday, 28 August 2019

4 Super Projects - Ruby Rock-It Creative Team


I was so excited about the new Superhero range from Bella, I had so many ideas in my head for projects to do with it, I got to a short list of 4 projects and decided to challenge myself to get all 4 projects out of the 3 sheets I had plus some Francehville Cards from the Primary & Basics packs and a sheet of Red Gallery R1998 Crinkles.
To get as much out of these papers as I could I had to do a fair bit of selective cutting, but it was so worth it.

The first thing I did was cut out this awesome section from THE623 Superhero Collage paper


Next I cut out the 3 items I definitely wanted from THE647 Superhero Jigsaw paper.


I then matted my photos with cards from Franceville Cards and Envelopes boxes in Basics and Primar and then cut out some cityscapes and comic splats and title card from these also using my Silhouette Curio to do the die cutting.

I created a starter stack for 4 projects.  I have the start of 2 12x12 projects, a Father's Day card and a 5x8 journal tip in for my A5 journal.


I then worked out placement for the 2 12x12 layouts on the papers that would be their background, flipped it back over the the wrong side and recreated the placement so I could trace around it with pencil and cut away inside my pencil line to ensure I got as much of  each paper to cut pieces from as possible.  


I got a nice big piece from the THE630 Superhero Splat paper, so there will be lots of cute heros to decorate with.  :)


Now that I had my lines on THE647 Superhero Jigsaw paper I was able to go through it and get as many bits as I possibly could from it.


Time to use my Pixscan mat with my Silhouette Curio to die cut all those superheros.


I decided to work on my favourite little Bat Girl's layout.
I adhered the big fussy cut piece from THE623 Superhero Collage and her matted photos down, just gluing things where they touched.
Filling in gaps with comic sections cut from THE647 Superhero Jigsaw paper and from splat style words from THE623 Superhero Collage paper.

I loved this Yeah for my Bat Girl layout but it was missing part of it due to how I had to fussy cut it, so I cut another cloud bit from another partial of it and adhered them together to complete it.

I added a little word from THE647 Superhero Jigsaw paper to hide the seam in my Yeah and it is perfect.


I cut my layout down to 11 and 13/16 inches and mounted it on some white cardstock which I had cut away the middle leaving a 1.5 inch frame and called this layout done.


The second project I worked on was my Free Comic Book Day layout, I used the comic strip sections I had cut from THE647 Superhero Jigsaw paper to give it a comic feel.


I used my cityscape to hide the narrow bit I cut away at the bottom earlier to get the tiny words I needed for my other projects.  I love how this little scene sits at the bottom.


I then cut it down 3/16 of a inch and gave it a boarder by mounting it on a 1.5 inch white cardstock frame and running a black marker around my decorative paper.
And finished it off by adding part of one of my heroes flying to the city with a boom to hide that part of his head is missing as he was from the edge of the paper.

Now it was time to do my third project.  I decided my Father's Day card would be next as my journal tip in can just be made with minimal supplies but I wanted to have more items to work with for the card.
I cut a piece from my left over piece of THE623 Superhero Collage paper to fit my card base with a slight edge of the card base showing.


I then used the Super Dad card from THE647 Superhero Jigsaw paper, my left over cityscape die cut, some extra splats I cut from left over bits from the Franceville Cards I had been using and a hero and arrows from THE630 Superhero Splat paper. to cover my missing section and build a card that looks finished.


Now it's time to do my fourth project, a tip in for my journal.  I am using a A5 journal this year so that means I can make a bit bigger tip in this time.  I went with a 5x8 base.
When doing this I realised I had forgotten to use Red Gallery R1998 Crinkles paper which I had included as it reminded me of a superhero cape so I was really glad to have a full sheet to play with as I couldn't get a 5x8 base piece from any of the other papers.

I trimmed a 1 1/4 x 8 inch piece from the last of the THE647 Superhero Jigsaw paper and adhered it down the right side.

I then adhered my photo down and tucked in the partial comic strip card I had remaining above my photo.

Added a zap, the small word that I selected specifically for this photo and then chose 2 heroes that remind me of my sons to create a cluster down the bottom left.

This is now ready to add my journaling to the back of it and tape it into my journal.


And this is all I have left.  I actually think I could squeeze one more card out of this but I will save that for later.
This range really is amazing value given how much you can create with just 3 papers.


Friday, 26 July 2019

Steampunk Goggles and Sunglasses - Helmar Creative Team

Today I am sharing with you the Steampunk Googles and Sunglasses the boys and I made for Steamfesta.
As the boys and I were working on our projects at the same time I don't have photos of everything but I wanted to share with you how we made some big goggles with safety glasses from Bunnings and Pringles Cans and then some photos and details about E's toilet roll goggles and my quickly made Sunglasses.
We focused on the boys Goggles first as they were both volunteering at a promotional event and needed at least a pair of Goggles each so we searched Google Images for ideas, watched and read some tutorials and then just played with our collections of bits and pieces and Helmar Glues until we had projects we were happy with.  My Sunglasses would wind up being a last minute thing 2 days before the event as C was having a creative block with his Goggles so we decided I would take over finishing them and he would do Sunglasses but the Goggles didn't suit my costume so once finished and he loved the Goggles we switched.  This has been a creative journey and I wanted to explain how we would up where we did.
First we grabbed together our supplies.  We weren't sure what we would use but having it all out ready was important.
Helmar 450 Quick Dry Adhesive
Helmar Premium Craft Glue
Helmar Gemstone Glue
Helmar Fabric Glue
Paint
Gesso
Watch parts
Cogs and Gears
Pringles cans
Safety Glasses
Toilet Roll
Cutting Mat
Craft Knife
Picture Frame Hanging bits
Brads
Trim
Yogurt Pouch lids
Medication bottles
Physiotherapy/Yoga tubing.

For the Safety Goggles/Pringles Can Steampunk Goggles we cut down the Pringles cans and used the tops.
C adhered them to the Safety Goggles with Helmar 450 Quick Dry Adhesive.

Once the glue was dry C gave the Safety Goggles and Pringles cans a coat of gesso followed by Black paint and then he added metallic paints over these, at first just using a brush and then rubbing with his fingers as this got better results.
And this is when C got stuck, he wanted his Goggles to have certain aspects that created a creative block for him so they sat waiting to be finished for a few weeks until 3 days before the event I asked if I could take over finishing them and instead he Steampunk some metal framed Sunglasses by adding watch parts to them.
Photos are limited of this next stage as I needed both hands and couldn't use my camera while doing them, but I will talk you through how I did it.
I started by adding some grey trim like the brown trim I used on my Steampunk Handbag that I had rubbed gold paint on, adhereing it around the Goggles where the Pringles Cans meet the Safety Goggles to hide the seam I used Helmar 450 Quick Dry Adhesive to adhere this to my Goggles.
I then added cogs and gears in the bridge of the nose section using Helmar 450 Quick Dry Adhesive to add some cogs and gears to this area, starting with a wood veneer one I had painted to bring it up to the level of the trim.

Next I painted some Physio/Yoga tubing with some black paint and then with gold paint and figured out how I could attach it to my Goggles but poking one end into the bridge of the nose section so it was adhered both down to the Goggles and the gear and trim with Helmar 450 Quick Dry Adhesive.  I then worked out a pathway for this smallish piece and adhered that down with Helmar 450 Quick Dry Adhesive adding a Yogurt Pouch Lid I had painted with black paint and then rubbed gold and silver paint to on top of the tubing with a lot of Helmar 450 Quick Dry Adhesive.

I then added another tiny bit of the Physio/Yoga tubing as the Yogurt Pouch Lid needed something else under the other side and adhere it down where it looked like it should go.
I then hid imperfections with Cogs and Gears.
To finish off I painted my dry glue first in black and then adding metallic pain to make what what visible look like welds.

 While I was working on decorating the Goggles C worked on the Sunglasses.  They turned out so cute.
He used Helmar 450 Quick Dry Adhesive to adhere the watch parts to the bridge of the nose as he forgot the Helmar Gemstone Glue was on the table next to him.


And our third pair of Goggles are E's toilet paper roll Goggles which he made while C was making the base of his Safety Goggles/Pringles Can Steampunk Goggles.  I have only one photo from the creation process but I will talk you through it.
E cut the toilet rolls into the needed shape with the help of a adult and cut some strips to add rims around the Goggles and a piece for the bridge of the nose.
He adhered the rims and nose piece to his Goggles with Helmar Premium Craft Glue.
He painted his Goggles first with a base of black and then bronze, brass and silver.
He then added some picture hanging bits to the sides of his Goggles with brads and threaded some of the brown trim I used on my handbag through the picture hanging bits.  Adhering the Trim back on itself with Helmar Fabric Glue.

He then adhered various watch parts to his Goggles with Helmar 450 Quick Dry Adhesive.
They turned out so cute and look perfect on his hat.


Thursday, 18 July 2019

FraserPop 2.0 - Cheshire Cat Cosplay

In the lead up to FraserPop 2.0 they advertised they would be having a Mad Hatter's Tea Party and as I had always wanted to do a Alice In Wonderland costume (long before I even considered trying cosplay) I thought it would be cool to do a Alice in Wonderland cosplay but I quickly dismissed it as I didn't think I would be able to find anything.
Shortly after dismissing the idea I was doing some op-shopping and it entered my mind as I parked my car, I walked into my local St Vinnies op-shop thinking "If I find a dress that is suitable for converting into a Alice In Wonderland cosplay then I will grab it and go with what ever character suits."  As I walked in the door I looked up and there was this hideous pink dress, checking the size it was 1 size above my size and just $4 so I grabbed it and so started the journey to creating my second ever cosplay, 1st cosplay with some DIY needed.  My Cheshire Cat cosplay.


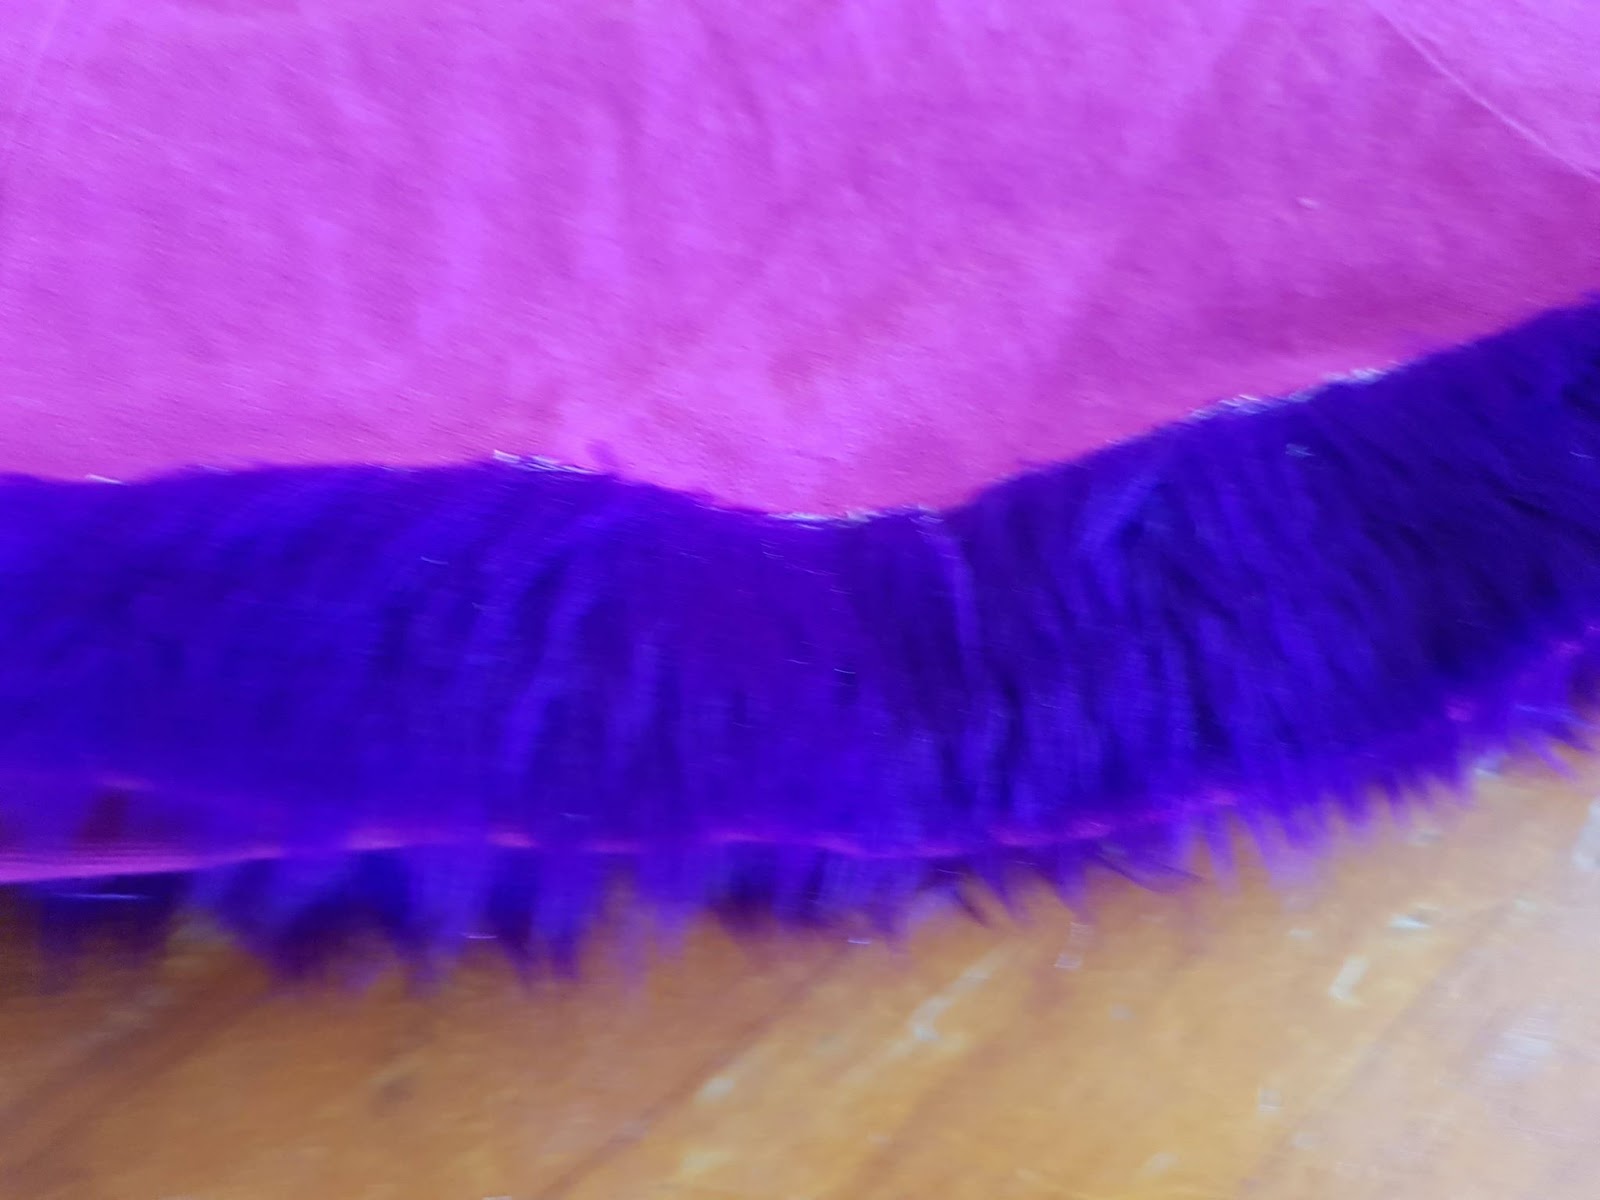
On my way home I popped into Lincraft and grabbed some purple fur fabric to make fur boot covers and add purple stripes to my dress, some pink and purple tulle to attempt a petticoate, some pink felt for my ears and some pink and purple wool to make my tail.


Before cutting 4inch wide strips from my fur fabric I needed to cut out my Ears (tutorial can be found here) and Boot Covers so that I could cut all the remaining fabric into 4inch strips to ensure I had plenty of stripes to work with.

Wearing the boot covers on the day I noticed some problems with my design so my next adventure into boot covers (my Steampunk costume for Steamfesta) I experimented with a fix to the issue, I am hoping to add this to my fur covers before Saturday so I will share photos of them after this weekend.

I cut off the bottom of the dress as it was a little long and the stripes were not suited to my Cheshire Cat.
I just did a rough hem as it would be hidden under my purple fur stripe.
I used Helmar Fabric Glue to adhere my purple fur fabric starting at the bottom and working my way up.


Now to make my tail.
I created wool tassels and brushed them out with a wire pet brush.  
I pricked my fingers so many times doing this and it became quiet painful.  Wendy used a old Barbie hair brush for her wool feathers in the Beautiful Australia YouTube Hop so I am on the hunt for a old Barbie hair brush whenever I go to the op shop to use for future project like this.


I then platted several strands of wool together and started tying my tassels to my plat until I had a awesome tail.  I wore it on the day by simply pinning it to the back of my dress.


To finish my look on the day I scrunch my hair with hair mousse and then sprayed it with a full can of pink hairspray and I attempted to give myself a Cheshire Cat look with pink and purple makeup, I struggle with applying make up due to my hand issues so this was a challenge, as was finding pink and purple makeup, it just wasn't around at the time.
I am happy with my results but really excited that my daughter who is very good with makeup including costume makeup is attending FraserPop 3 this year and will do my makeup for me and best of all we are doing a little group cosplay with my daughter joining me as the Mad Hatter and my Granddaughter as a adorable Alice.  :)


Will you be attending FraserPop 3 this year?
I hope you can make it as it is a great event.

Tuesday, 16 July 2019

FraserPop 2.0 - What we loved.

As FraserPop 3.0 is just days away.  We are getting really excited and I realised I haven't finished my FraserPop 2.0 blog posts so I wanted to share some of our experiences of this awesome event last year.  

We loved FraserPop 2017 and were so excited to hear the staff say it was such a huge success they  would be making it a annual event, so as soon as the dates were announced for 2018 I put it in my diary.
FraserPop 2017 was our first con and definitely something we hope to attend every year.
2018 didn't disappoint, it was bigger and better, the students and staff did a fantastic job.  If you haven't been I highly recommend attending in 2019 which is going to be much, much bigger from the posts so far.

At FraserPop 2.0 one of the new things was The Store Of Requirement setting up in the room they used for the Doctor Who display in 2017.  This room is perfect for getting that Hogwarts feeling in a small space.  The boys enjoyed some Butter Beer and E bought himself some Gryffindor robes and a tie.
You can see my layout about the Butter Beer here.

It was really hard to get a good photo to show just how perfect this space is for this set up.  Hopefully I can get one this year.

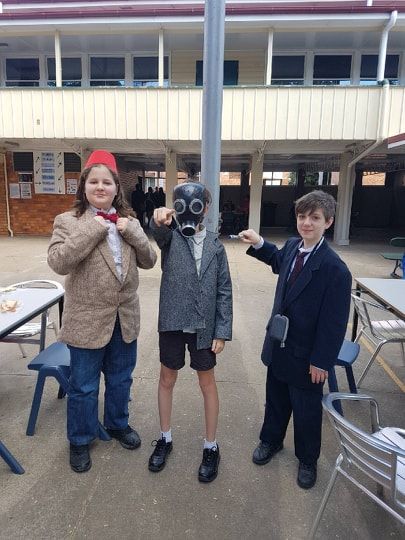
Day 1 of FraserPop 2.0 E wore his Sans cosplay that he wore to Supanova 2017, he added pink slippers to it to finish the look.  And C wore his 11th Doctor cosplay.


Day 2 the boys wore their 10th and 11th Doctor cosplays.
As C was growing his hair to donate it was at a length that was impossible to style how it was needed but he made do. His donation happened at the end February and he is feeling much lighter now, and looking forward to being able to style his hair at FraserPop 3.0.

When having some food we wound up sitting next to a family whose son was cosplaying The Empty Child so we got a pic of the 3 boys together.

At FraserPop 2.0 they created a prop room which had all the Doctor Who stuff they kids had created including some wonderful new items like K-9 and Darleks as well as props from a wide variety of Pop Culture like Stranger Things, Goonies, Indiana Jones, Game of Throwns, etc.
They created a transportation display which included the TARDIS the students built in 2017, a SHIELD vehicle, Delorian, Herbie Beetle, etc. 
This year there will be a Batmobile. 

Brick Events set up a fantastic Lego Display and came back later in the year to do a full event at Maryborough State High School.

There were so many fantastic vendors this year, they had to have stalls outside the Gym as well as inside.  It was fantastic.  Make sure you check out the vendors this year as there are so many talented local artists who do stalls at this event.

Other things we enjoyed included The Sons of Obiwan Saber Academy, 501st Redback Garrison, Laser Tag, VR, watching the Cosplay competition.  We missed out on tickets to the Mad Hatter's Tea Party that inspired my costume, I am hoping to get tickets this year to take my Granddaughter to it as my daughter and Granddaughter are visiting for FraserPop 3.

So do yourself a favour and check out FraserPop 3 this weekend, you will have a lot of fun.

I will post about my Cheshire Cat Cosplay I wore to FraserPop 2.0 soon, so watch this space.

Friday, 5 July 2019

Steampunk Handbag - Helmar Creative Team

Steampunk has been something the family and I wanted to give a go for a while and for many years I have been saying to my steampunk enthusiast friends that Maryborough Qld is a perfect location for a Steampunk event so when Steamfesta was announced naturally my family and I wanted to participate.


This is the first of several posts I will be sharing over the next couple of months detailing the items we made for our Steampunk costumes.  
I didn't get photos of everything as the boys and I were working on our projects at the same time, during any free time we had in the weeks leading up to the event.
Some photos taken on the day may reveal upcoming post content. 

I wanted to start by sharing my Steampunk Handbag with you.  I knew I was going to need a bag with me on the day and I had this lovely leather bag that had lots of awesome space inside that I had found in a op-shop last year which had broken strap attachments and I thought it would be a perfect way to fix it by turning it into a Steampunk Handbag as I could use my embellishments to hide the damage and repairs.


My first step was to cover the back of the magnet closure and the logo with cogs.  I felt this was the easiest way to start and to start getting the feeling that this would work.
I used Helmar 450 Quick Dry Adhesive to adhere my metal cogs and gears to my bag and to each other.


Now it was time to work out what to do about the broken top strap.
I decided to use a scrap of trim and some cogs and gears to reattach the strap and hide/blend it all in with cogs and gears.
I rubbed some gold paint with my finger over some brown trim to add some detail to it and then used Helmar 450 Quick Dry Adhesive to adhere my to attach the trim and my cogs & gears.


And now for the side.
The way the strap attachment had come completely off there was no way I could fix it in the timeframe and skill level I had so I chose to hide it.
I used Helmar 450 Quick Dry Adhesive to adhere some more of that brown trim and then some skinny gold trim over the entire section that the remaining piece was attached to.    Now there is no sign of how broken it was.


I looped some chain through the remaining side strap thing so that it looked like it had a purpose and call my project done.
I love how it turned out but when I have time I will add some other bits to it as I have had some more ideas since finishing the project but not had the time to implement them.  For now I have a functional bag that I can use at Steampunk events or even as a everyday handbag.