Showing posts with label Dusty Attic. Show all posts

Sunday, 31 July 2016

Scrap the Boys July Challenge

Scrap the Boys July Challenge is Ocean themed.  I discovered I am rather lacking on Beach, Nautical or Ocean themed supplies.
Appologies for the different set out today but for some reason Blogger isn't letting me edit my post so that text is beside photos or to have photo clusters as I would prefer.

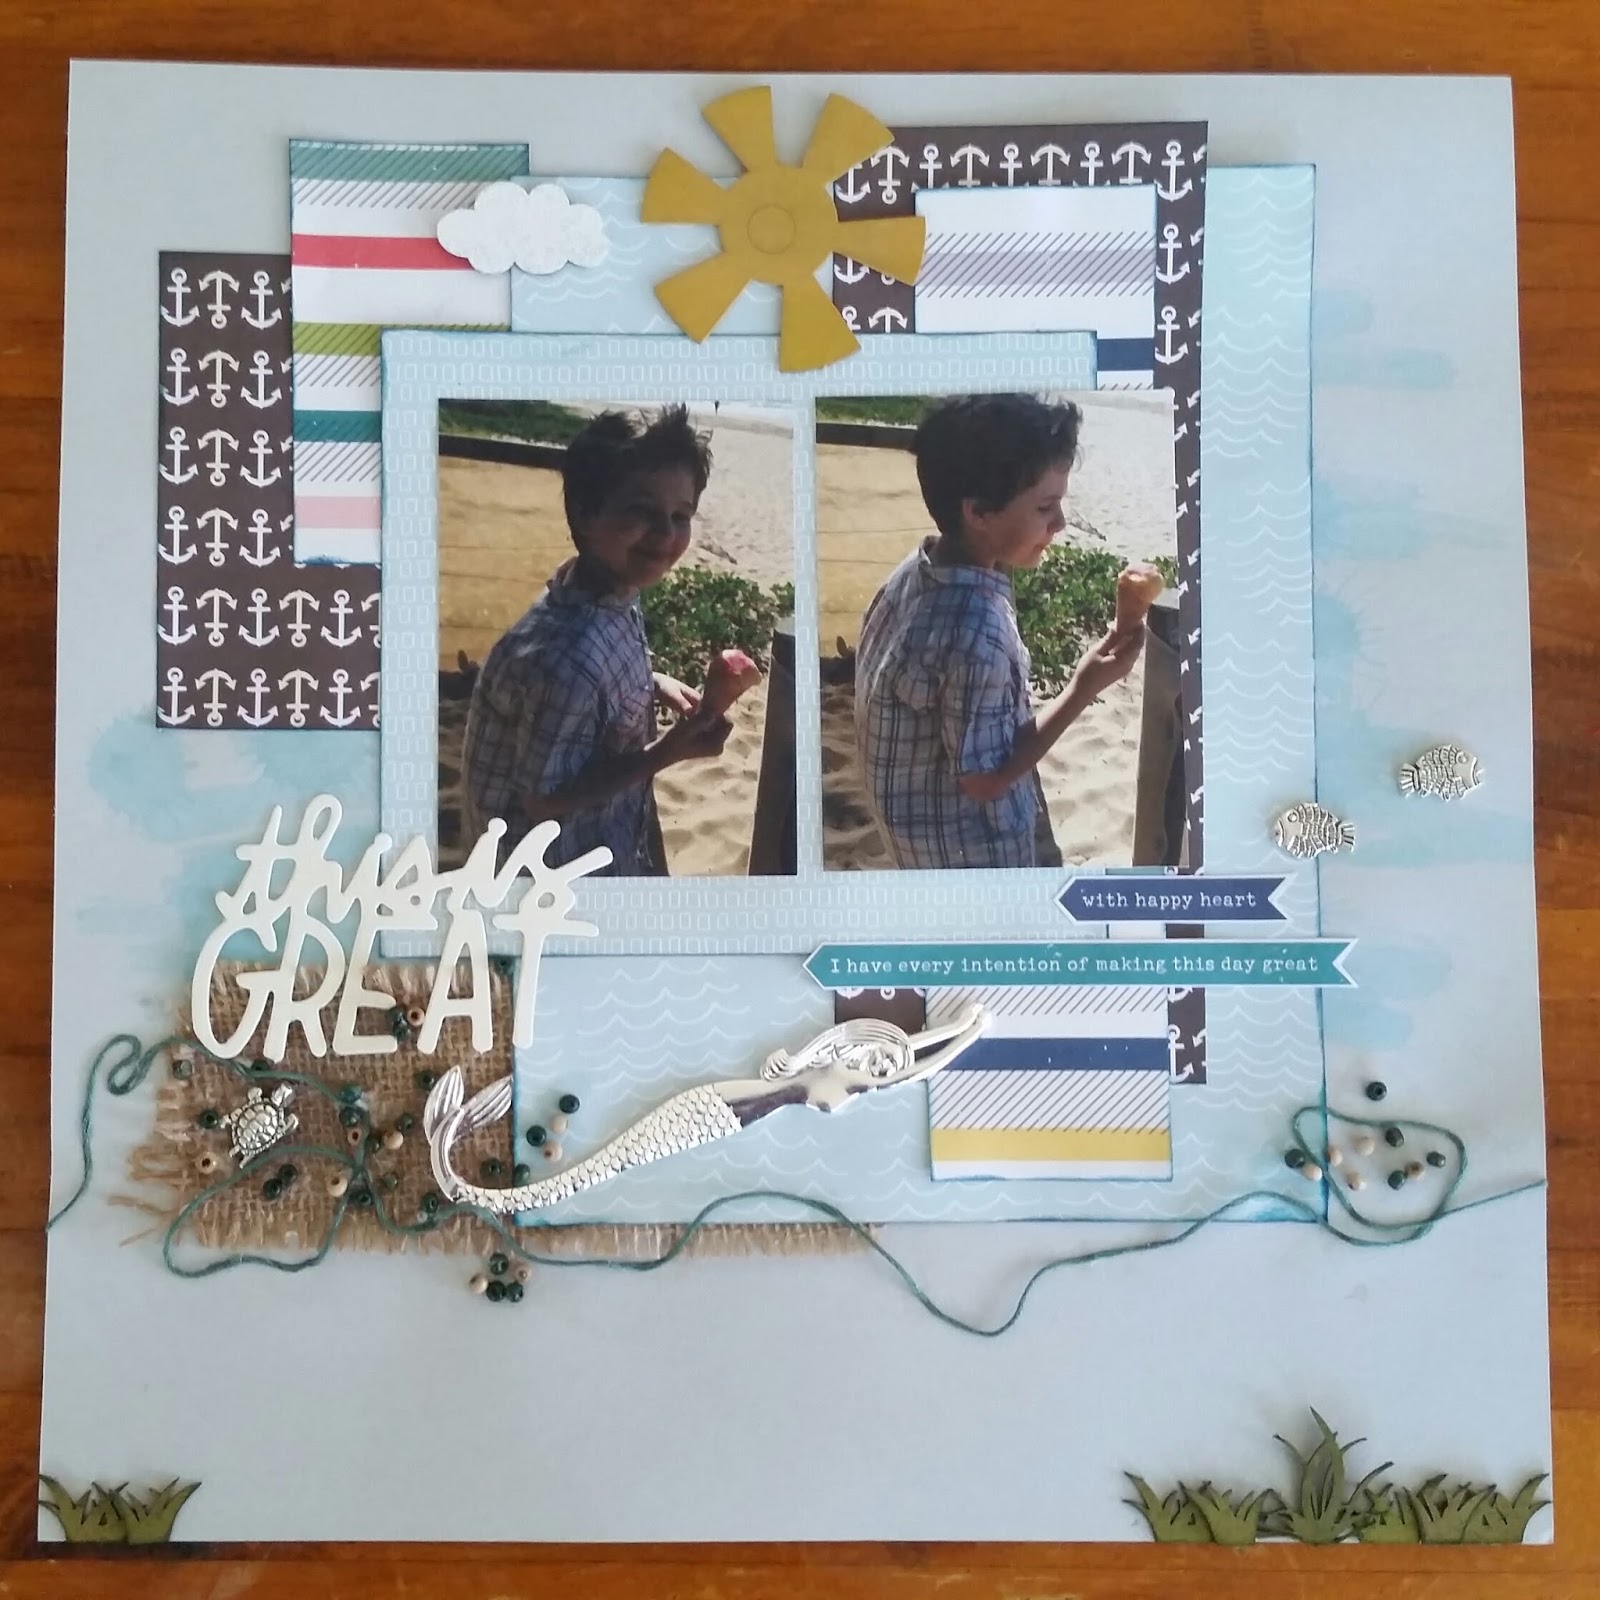
After I selected some papers from these paper pads I grabbed out some beads from a broken necklace, hessian ribbon and a cloud, sun and grass chipboard.
I started playing around with my papers, chipboard and hessian ribbon to work out how I wanted to lay things out before adding colour or other embellishments.

Then it was time for Distress Stains, I decided to go with more basic techniques this time, just swiping and then doing some splats with Tumbled Glass on my light grey cardstock.
I used Pealed Paint to colour the grass chipboard by putting some on my craft sheet and rubbing the chipboard in it and just dabbing on any spots that didn't take colour, I then inked the edges with New England Ivy CTMH ink and a ink dabber.
For the Sun I mixed some yellow, white and light brown Acrylic paints on my craft sheet and painted it on, once dry I dabbed some Mustard Seed Distress Stain on it.  I was trying to get a shade close to the shade in the striped paper I was using on my layout.
For the cloud I just dabbed white paint with a sponge on it to get a textured effect that felt like a cloud.
I chose not to base coat any of my chipboard as I wanted the different effect that the raw chipboard directly under the cover gives.
I had everything ready to adhere down when the oppurtunity to go to Spotlight and spend my voucher occured, so I grabbed a pack of charms that included fish and turtles and then I spoted a beautiful Mermaid Bookmark.  I had already decided to go with a overall ocean theme and use a photo of my son having Icecream at the beach on a day out with Dad.
In addition to my already selected embellishments I added some embroidery floss to represent seaweed.
I inked the edges of the papers with Pacifica ink from CTMH.
The die cut title is from that pack of Dear Lizzy die cuts I scored at the destash market, that pack is so useful.
I love the subtle colour from the Distress stain swipes and splats.
I also selectively cut some wording from one of the papers in one of the paper pads.

Saturday, 13 February 2016

Beach and Calendar Layouts

This sheet of Seaglass paper was just so gorgeous, I cut it up to create multiple layers.
The leaves were my inspiration for creating the Island.  I punched out 3 circles for coconuts, handcut a Palm tree trunk, tore the sand and waves and added some paint to the cardstock background to create a ocean feel.
The grass chipboard and bird charm really helped finish off the layout.


 I used Distress Stain on the chipboard without a basecoat to created the grassy feel.  I did a second coat on the base for shading.
 While working on the layout I realised this could make a cute Pocket Scrapping card so took this pic with 2 rulers to show it would fit as I didn't have the supplies on hand to make the card as well.

This September Calendar page inspired me. 
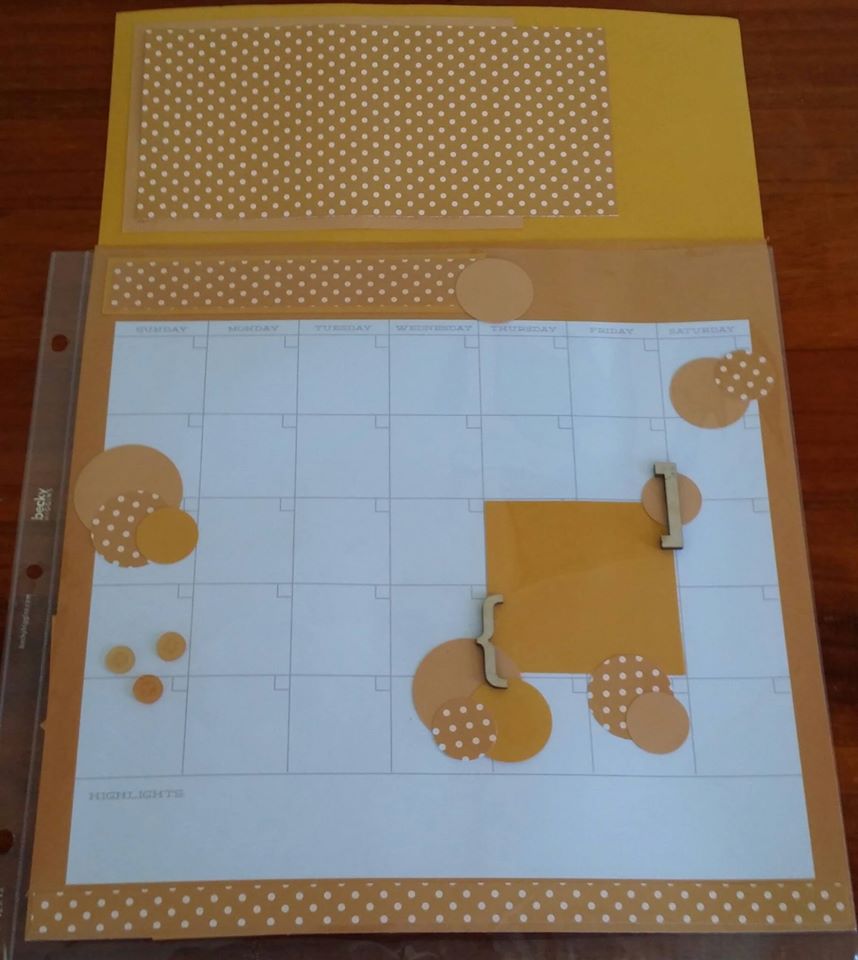
I felt it would be a great way to feature a memory.  Though you didn't need to be restricted to the month on the paper as you could simply cover it.
With a single photo over 4 squares and journaling in the relevant squares.
Then I thought a fold out would be fun and would mean you could add more photos.
I went with a monochromatic layout.
It is simple but I love it as the memory is the feature of this layout.


Sunday, 27 September 2015

Simple Stories Life Documented Layouts

Simple Stories Life Documented is such a versatile range, you can create so many various types of layouts with it.
I found myself thinking of so many things photos/memories I could get down with these papers as they are so versatile.  From a beach/nautical theme to school, floral layouts to more geometric styles.
There are 5 classes this month so out of the dozens of ideas in my head I am creating 5 of them.
I wanted to have a mix of simple layouts that are reasonably quick to create and more complex layouts.  I wanted to cater for any new beginners but as someone who has scrapped for over 10 years I do enjoy quick and simple layouts when I am time poor so I wanted to give the more experienced scrapbookers some quick and simple layouts so they have some remaining time some weeks to play with tools and catch up on any unfinished pagess they have.

School Layout
I love the graph numbers, this paper has so many uses, my hand was playing up so I couldn't fussy cut them out as I wished but I think it turned out effective.
This layout is a good example of using paper selection and embellishment selection to tell the story, in this case my daughter's change of favourite colour.


Library Pocket LayoutI love these cute metal embellishments, and the mixed bag of flat backed pearls and wanted them to be a feature of this page.
Creating your own Library Pockets is simple and they are so useful for storing extra journaling and photos.


Susan's Garden Nastrutium Dies Layout
I love these dies, they make such cute flowers.
This paper I had a few ideas of what I wanted to do with it but in the end I found with the flowers, photo and butterflies laid out before cutting up my background as intended it didn't need any more work as it just worked for me.
The little flowers have tiny little flat backed pearls in their centres from the mixed bag used on the Library Pocket page.


Nautical Layout
I loved the nautical feel of this paper and the cameras on the back were so cute so where the paper would be covered I cut out 5 cameras for use as embellishments (second pic).
I created a beach themed tag and used the negative space piece of chipboard from Dusty Attic Swirl No 8 to create the waves down the bottom.


Mixed Media Layout
After creating all my layers I tore a squarish shape from the wet wipe used for clean up and created a flower, I stuck another flat backed gem over the brad when finished.


I had a lot of fun with this range and creating this month's series of classes.


Tuesday, 8 September 2015

My Minds Eye Jubilee Sherbet Layouts

I recently started working as the Scrapbooking Tutor at for a local shop, I am so excited but it is proving a challenge.
I am so happy to be tutoring, I love sharing my love of memory preservation.
I believe everyone is a artist but some of us need tools to help for various reasons and for me scrapbooking helped me discover I have a creative artistic side that previously I hadn't been able to express due to my hand issues.
I have a mixed class of beginners and advanced scrappers so I tried to design layouts for the first month that will build beginners skills so that in the last week we can do a beginners mixed media layout.
I decided to work with one paper range per month and coordinating cardstock and embellishments so that we can see some of the different ways we can use each range.

I am absolutely loving working with the MME Jubilee Sherbet range, I love the colours, the quality and the designs.


WEEK 1 I included some budget saving tips and how to make 2 types of flowers with Scallop Circles Punches.
I allowed room for journaling to tell the story of the photos.
Die Cut Titles were added to the pages where necessary.


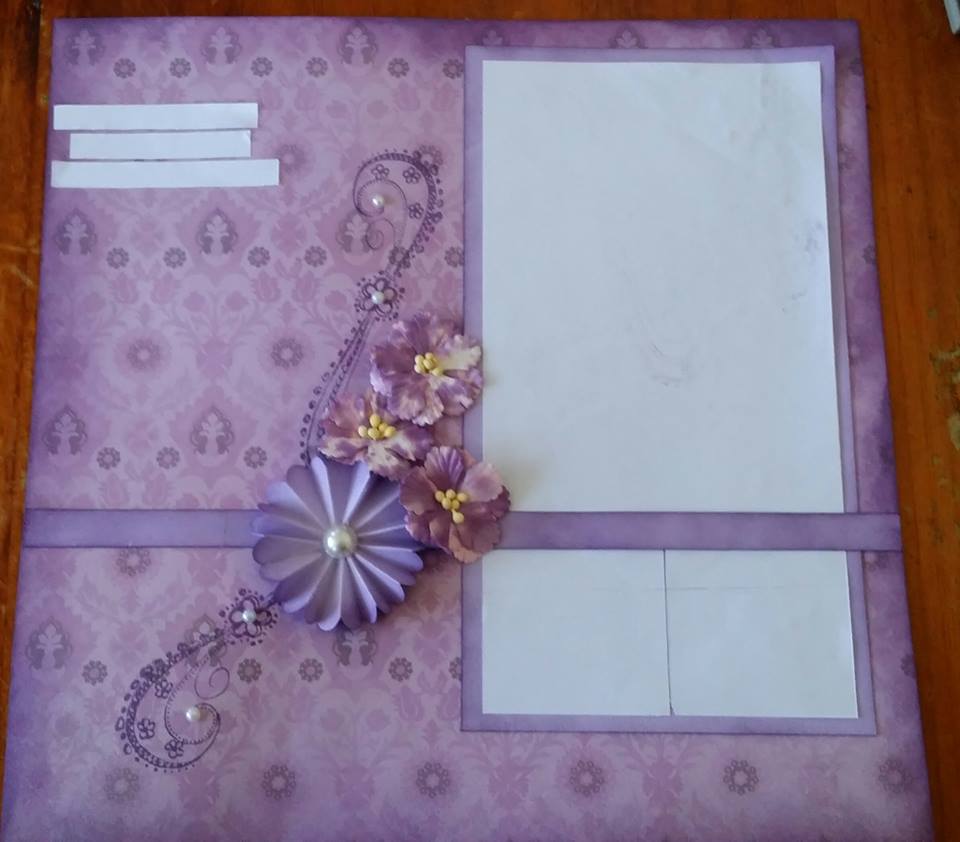
Week 2 I love purple so I really enjoyed creating week 2's layouts, basic stamping and inking was introduced as well as fussy cutting and doodling.  We made a simple accordian flower using 2 large Scallop Circles.


Week 3
This week we will use a versatile stencil called Harlequin Circles, covered colouring store bought paper flowers to coordinate with our layout.  As with previous weeks we are discussing balance, layers and how to enhance the story of the photo using journalling, paper selection, embellishment selection, etc. 
Handy Hint when using Dye Based Inks if you wish to ensure they won't run if your layout gets wet then apply some clear embossing powder while the ink is still wet, shake off excess and heat set.


Final Week Introducing chipboard, lovely gold paint in a beginner level mixed media layout of sorts.
Love this gold paint, we will not only be painting our chipboard with it but splattering it on our layout.
Making a simple but cute flower with the Scallop Circle Punches.


Next Month we will be using Simple Stories Documented Life papers.